Craig Pindell, Fine Art Photographer
All work copyright Craig Pindell, 2026
Many people think making test strips are a waste of time, and
many people have never thought to do a safelight test in their darkroom.
I am a firm believer in both, I encourage you to join me in both
practices. Using the methods I use will save you significant amounts of
paper, chemistry, and processing time in the darkroom.
In the 1950 edition of The Print, Ansel Adams describes his
method of making test strip prints, by the 1983 edition, he had slightly
modified the process.
The
method of exposing the test strip was consistent, but by 1983 he was
comfortable using ½ or 1/3 sheet of paper rather than a full sheet.
I learned from the 1950 edition and I still use a full sheet of
paper when making 8x10 and smaller prints, for 11x14 and larger, I use
½ sheet of paper.
Ansel
Adams timed his printing with a metronome, set to 100 counts per minute.
I use a Jobotronic 2000 quartz timer.
Ansel Adams used 10 beats per strip, I use 3 seconds per strip.
Ansel Adams preferred 5 strips per sheet, I prefer the strips to
be about 1 inch wide, so it could be 8 or 10 on an 8x10 sheet.
With my negative in the enlarger and sharply focused, the lens set to
the appropriate aperture, and the correct contrast filter in place, I
put the unexposed paper in the easel and block off all except 1 inch of
the paper with a mat board scrap I keep in the darkroom for making test
strips, for testing safelight fogging, and for burning prints. I should
mention that the choice of aperture and contrast are based on experience
and best guess.
There are
times when your guess will be very wrong, but the more you use this
method, the more accurate your guesses will be.
It is not very often I change contrast from what I see in the
test strip, I can make a better choice when I see the first print.
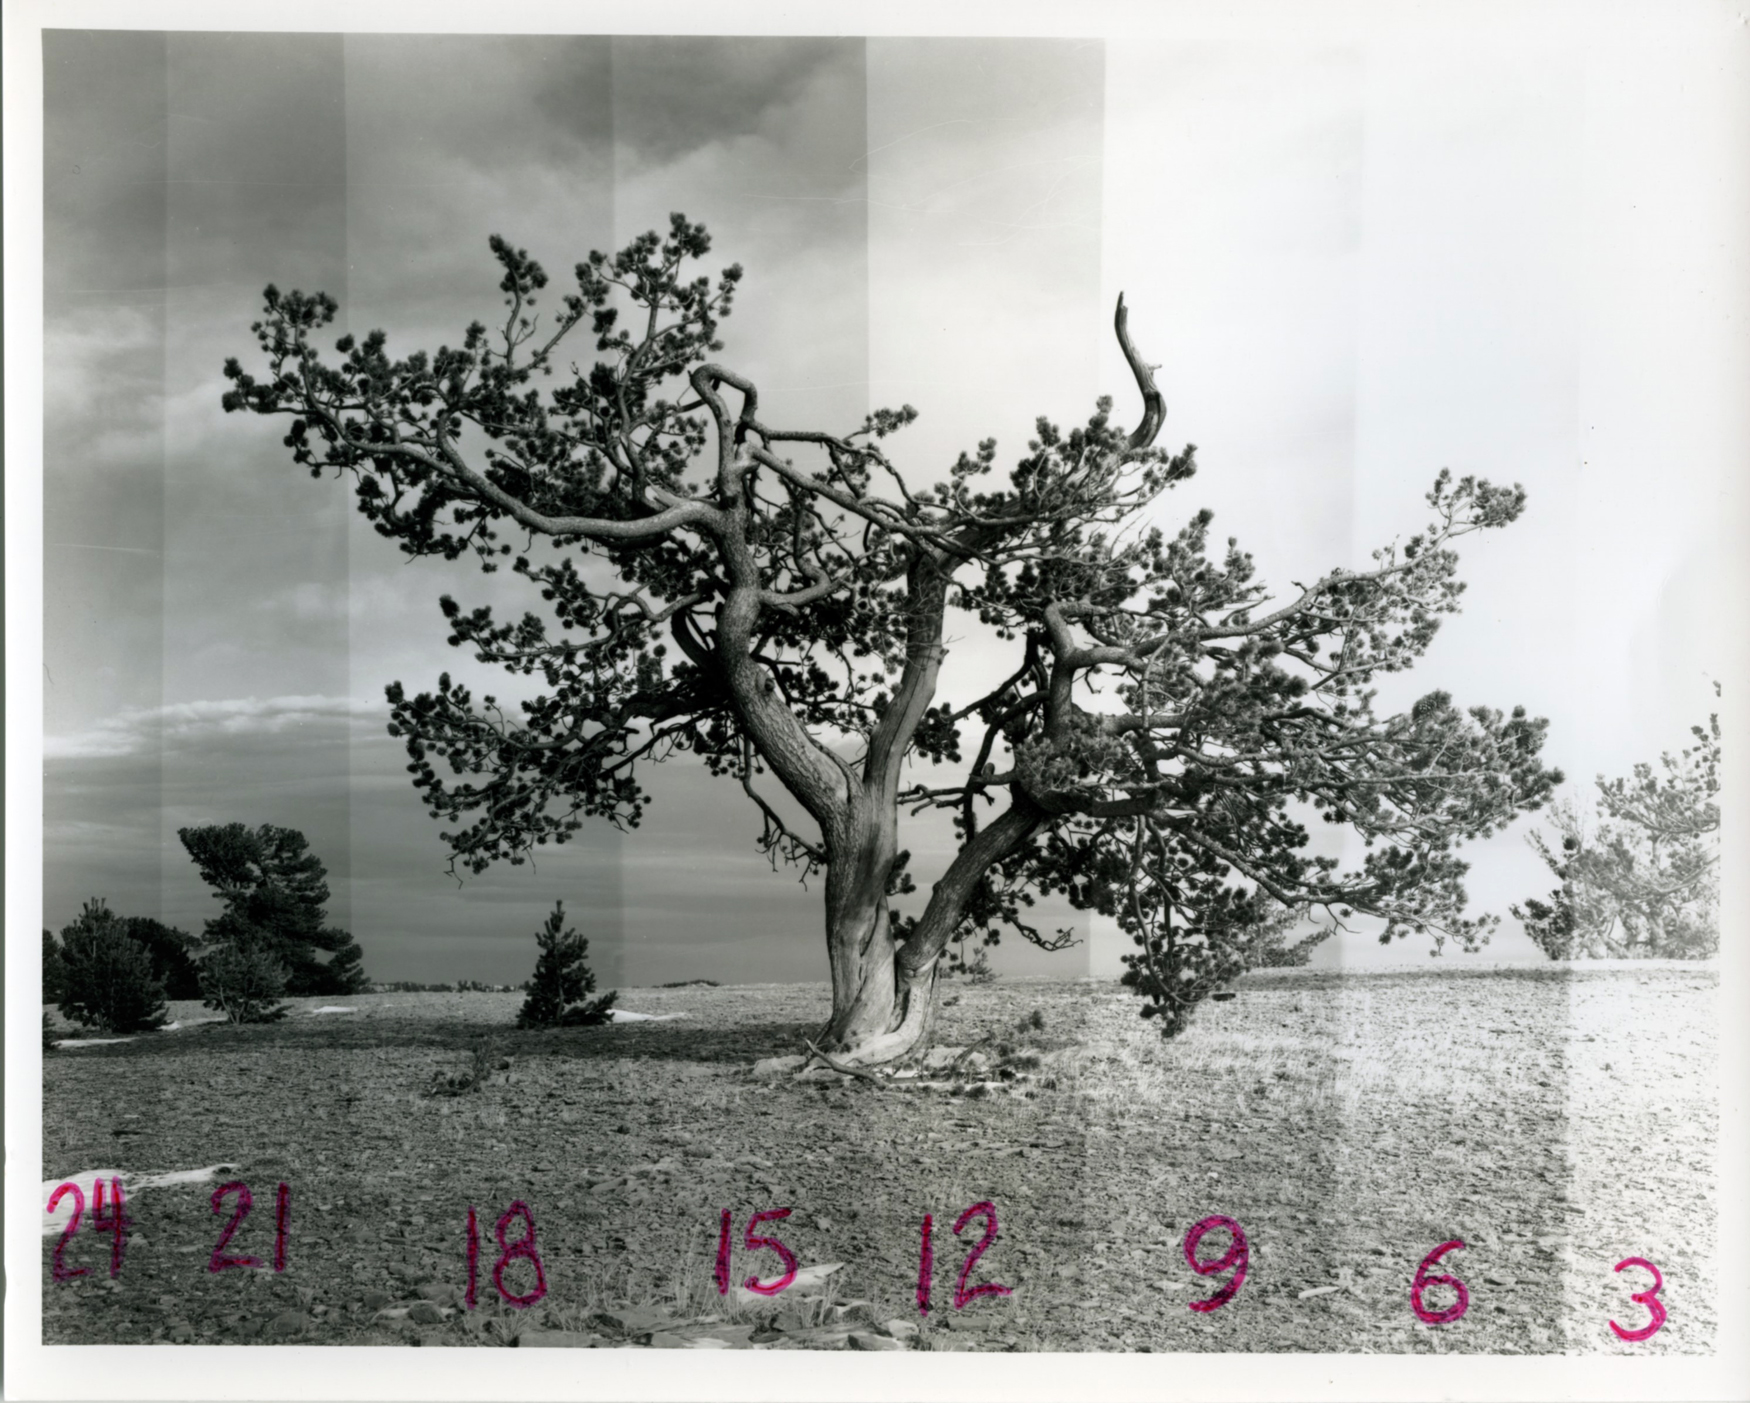
I expose the first strip for 3 seconds, then move the card to
cover 1 inch less of the paper, and expose that strip for 3 seconds.
By doing that, the first strip has now received 6 seconds of
exposure and the 2nd strip has received 3 seconds.
Continue making 1 inch strips with 3 seconds of exposure to the
end of the paper.
1 inch
strips are the size that is comfortable for me.
If you prefer 2 inch strips, you should make 2 inch strips. I
would encourage you to not use smaller than 1 inch, but it is your
choice in your darkroom.


After exposing the paper, develop as normal for you.
One note, though, if you are a darkroom technician that develops
paper by inspection, rather than by time, I am sorry I have wasted your
time.
This article is not
for you.
You will not be
able to duplicate any of the strips from test to final print.
If you develop by time rather than inspection, let’s continue.
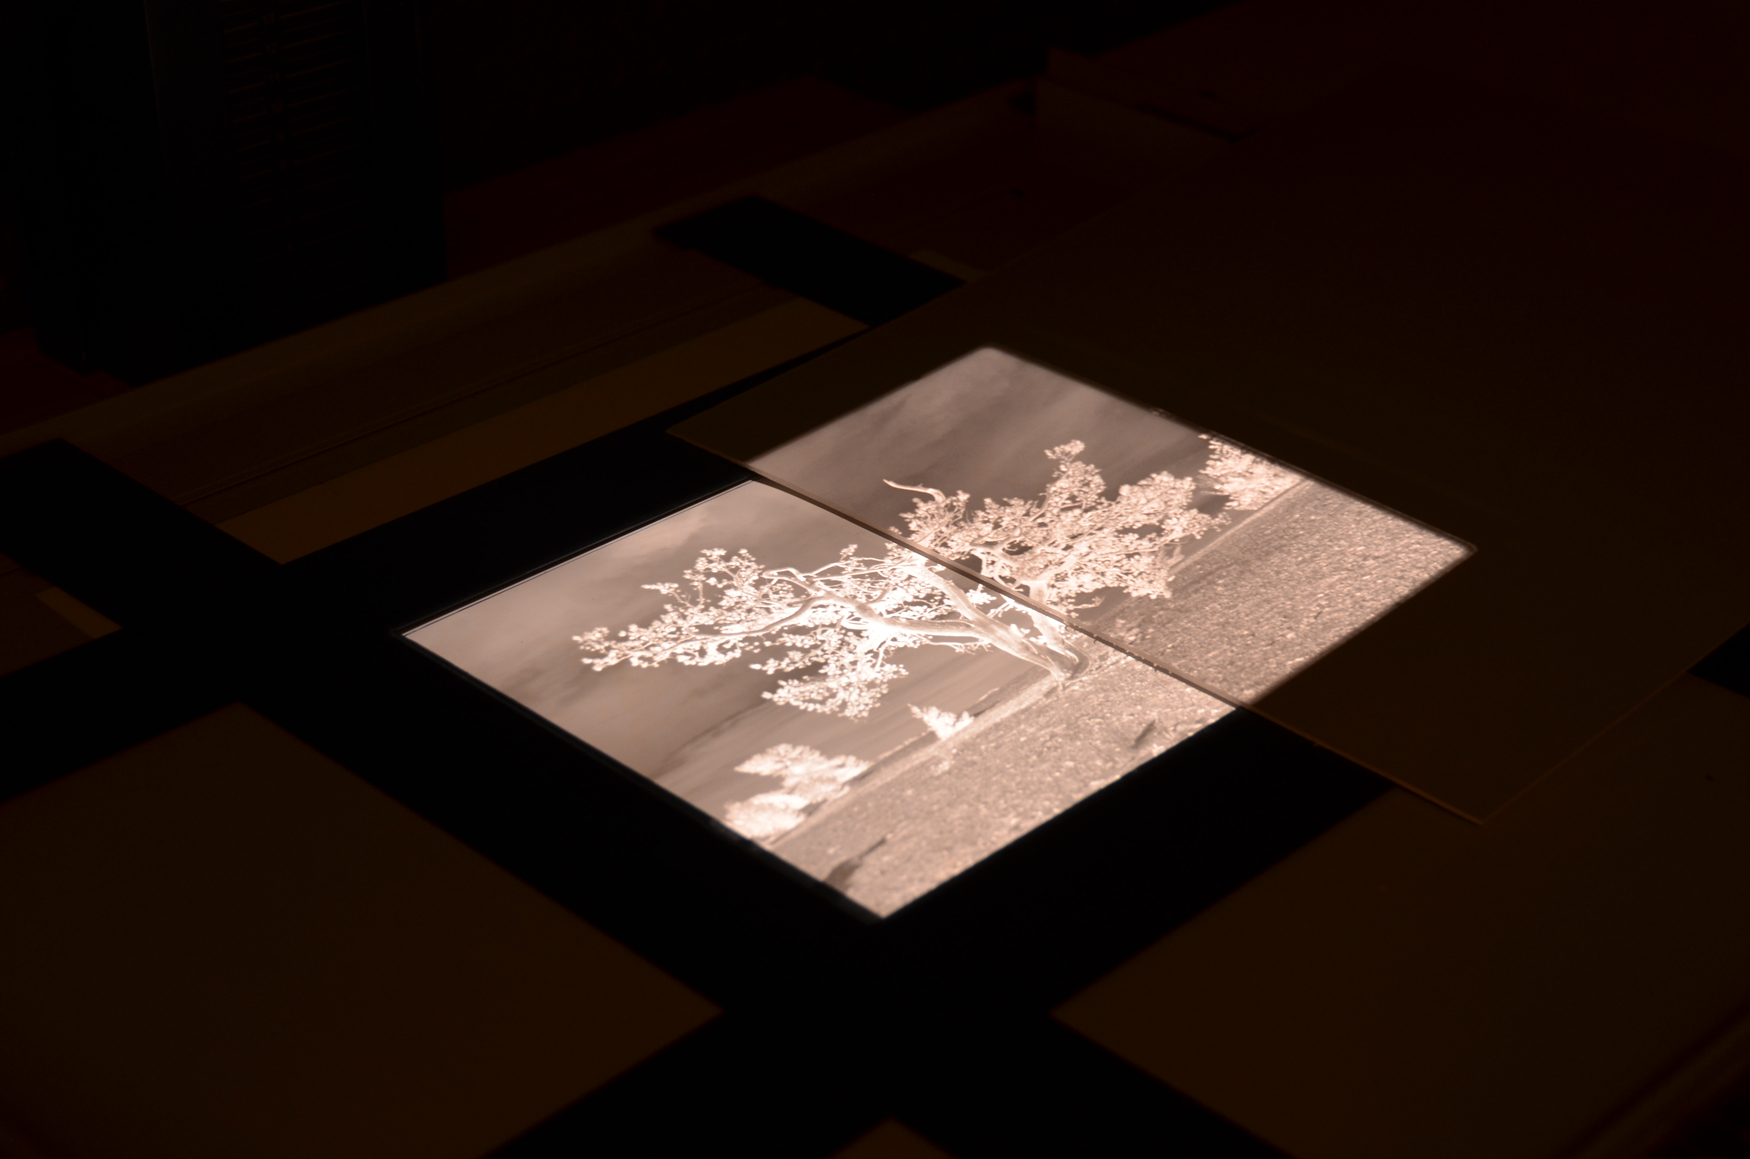
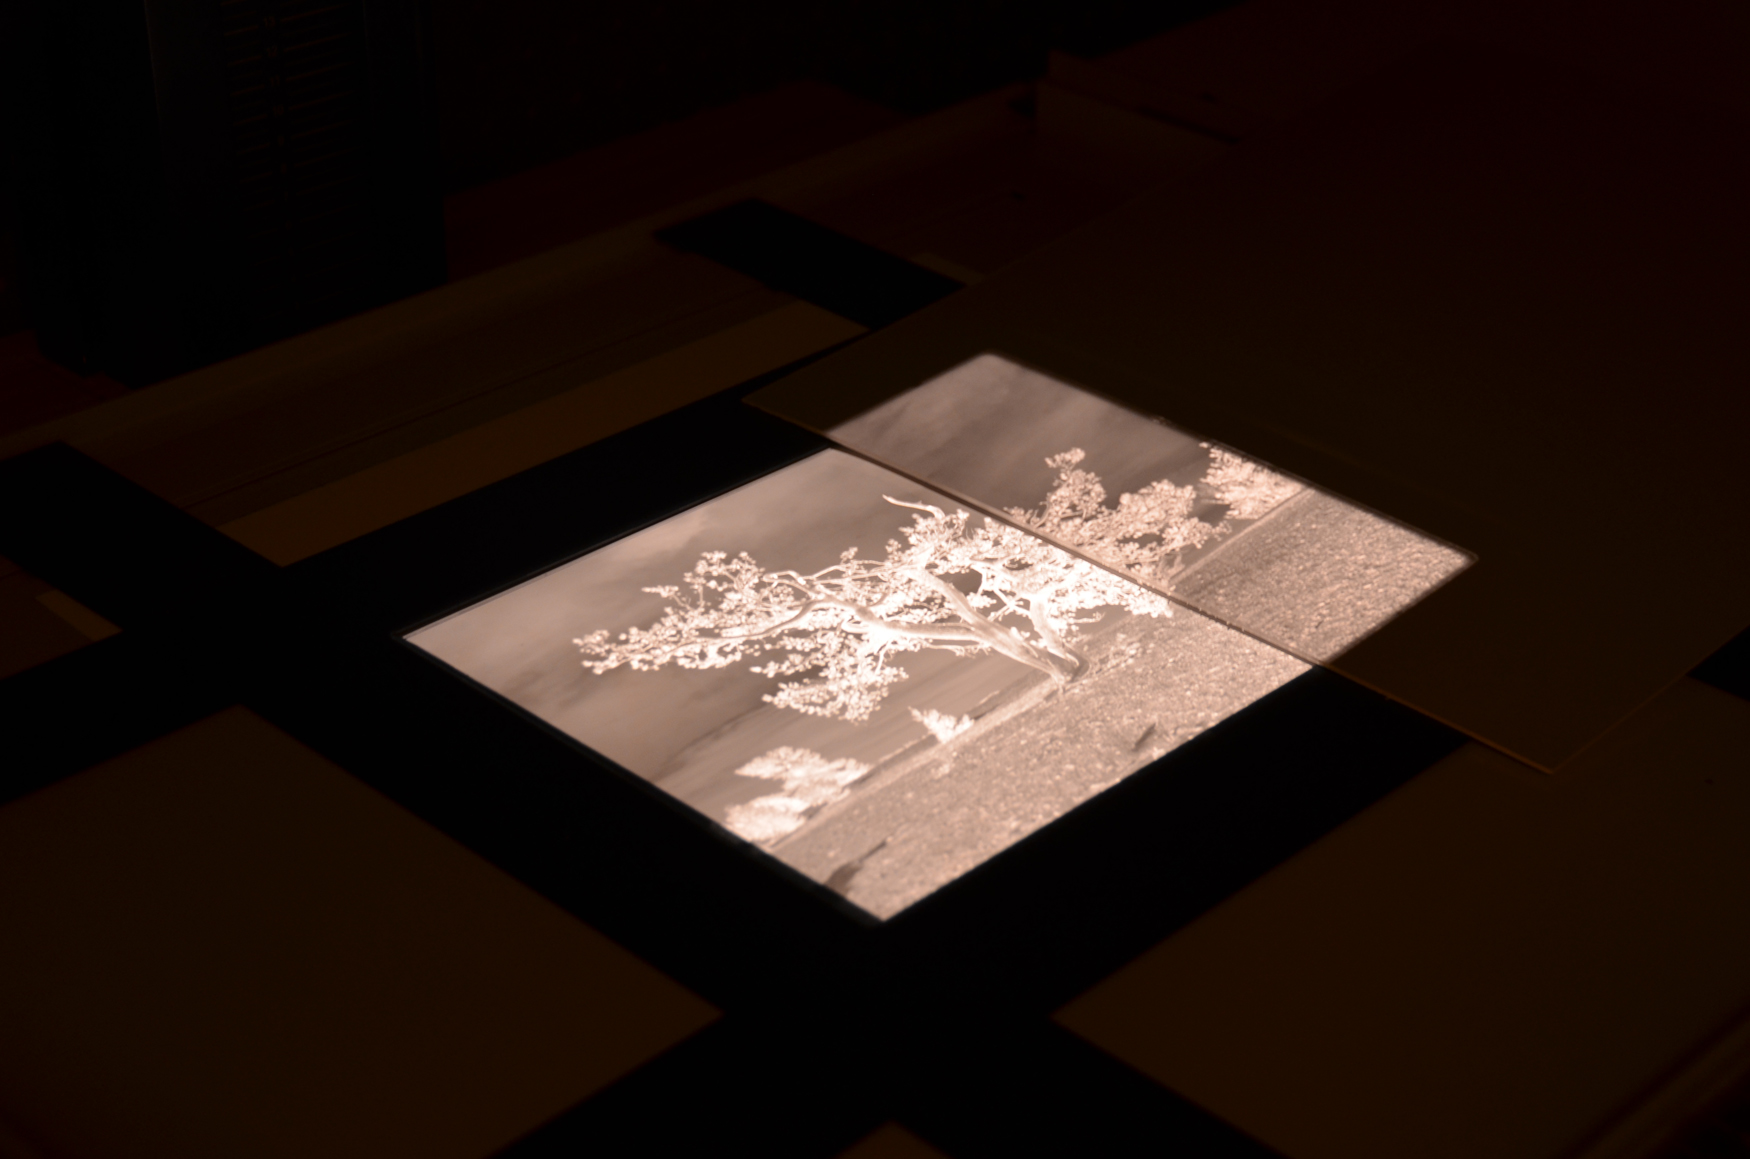
Once the test strip print is developed, fixed and well rinsed,
transfer it to the viewing area and squeegee the print. (if you don’t
squeegee, the highlights seem brighter than they really are)
Evaluate which strip has the best highlight and shadow detail.
I
try to set the aperture so that the “best” strip is close to the middle
of the page, but there is no requirement for this.
I do it so that I have as many options as possible.
Once I select the best exposed strip, I count by threes from the
right side to determine the printing time, and make a print using this
time.
No burning or dodging
– just a straight print.
This straight print allows me to judge the contrast of the print,
as well as the exposure in the areas I consider the most important.
My printing manipulation choices come from the straight print.
If I choose to change the contrast of the print, I make another
test strip and straight print. I want the print exposure and contrast to
be decided before I burn, dodge, bleach, or any other manipulation.
Using this process has helped me stop making prints over and over
trying to sort out contrast and exposure and manipulation.
Resolve one variable at a time and be deliberate as you print.
Using the Test Strip Print to
test for Safelight Fog
It is important to test regularly for safelight fogging.
This fogging can cause the highlights to lack brilliance and can
cause prints to have an overall muddy look.
It is any easy situation to overlook, but this simple test can
help you be sure you are not a victim.
The usual procedure for testing for Safelight Fog includes
flashing the paper to create a base exposure and to increase the
sensitivity before testing.
I have used this method in the past and it takes a lot of
valuable darkroom time, as well as consuming a lot of paper and
chemicals.
I have found the method using the test strip is the most
effective and only costs one sheet of paper and less than 15 minutes of
your time.
What I do is make a test strip print, but before I remove it from
the easel, I cover half of the sheet with the mat board I use for making
test strips.
I then set my
developer timer for 5 minutes, being sure that the safelight is the only
light on
in the darkroom.
After the five minutes, I process the sheet as normal, rinse
and squeegee.

If there is no evidence between the side that was covered and
the side that was not covered,
there is no safelight fog issue.
If there is any difference visible, in any of the strips, the
cause must be found and corrected.
In this print I created a bit of fog as an example of how it will
show in some strips, but not in others.